

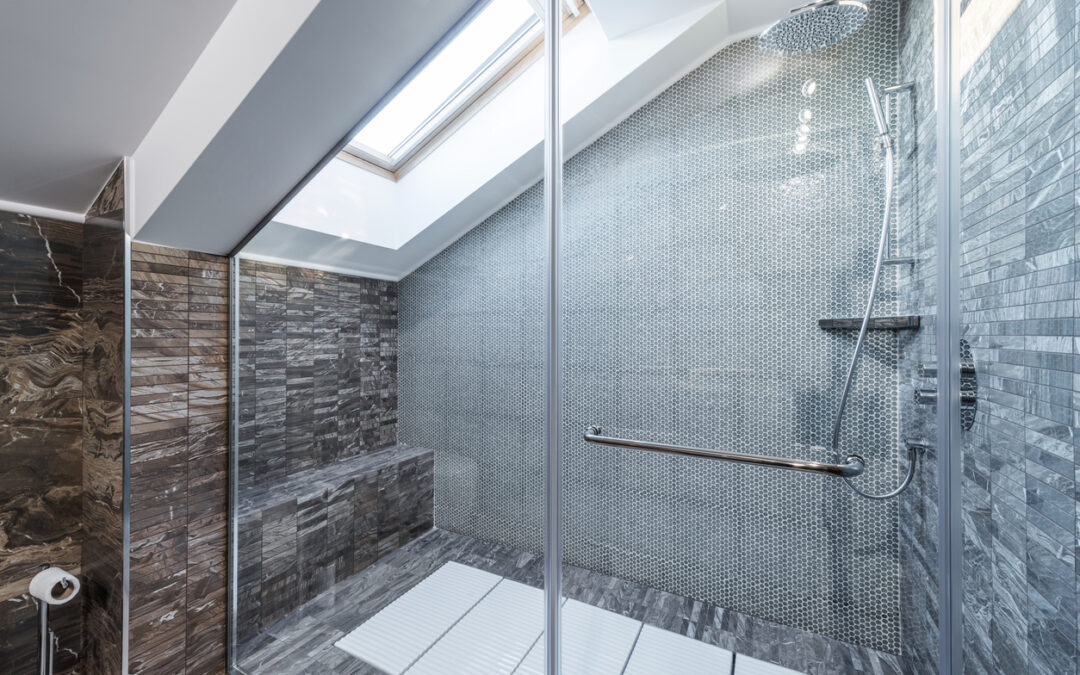
Many homeowners in the GTA assume that glass installation is simply the final step in a shower renovation. In reality, the glass is often the most precise component of the assembly, requiring the surrounding tile and curb work to be finished to exacting standards before it can even be measured. If the curb is not pitched correctly or the tile joints are uneven, the glass will either not seal properly or will require excessive silicone, leading to future leaks. To ensure a durable, watertight enclosure, you must prepare tile and curb for shower glass with a clear understanding of who is responsible for what at each stage of the build.
Defining the Finished Opening and Waterproofing Scope
The first critical step is establishing the exact dimensions of the finished opening. This is not merely the rough framing size; it is the final distance between the finished tile faces. Before any tile is laid, your contractor and the glass installer should agree on the target dimensions. This prevents the common issue where the tile work finishes slightly wider or narrower than the glass panel, leaving gaps that are difficult to bridge with silicone.
Waterproofing responsibility is another frequent point of contention. While the glass installer provides the sealant at the interface between the glass and the tile, the structural waterproofing of the shower pan and walls is the responsibility of the tile contractor. Ensure that the waterproofing membrane is fully installed and tested before the glass is ordered. If the glass is installed before the waterproofing is verified, any necessary repairs to the membrane could compromise the integrity of the glass seal. For a deeper look at how different configurations handle these interfaces, explore our Glass Shower Doors to understand the specific sealing requirements for your chosen style.
Curb Pitch and Hardware Zones
The shower curb is not just a barrier; it is the foundation for the glass seal. A common mistake is installing a perfectly flat curb. In practice, the curb should have a very slight pitch away from the glass line, or the tile should be set with a consistent slope, to ensure that any water that does reach the base of the glass flows toward the drain rather than pooling at the seal. This subtle detail prevents long-term moisture intrusion behind the silicone.
Equally important are the hardware zones. If your design includes frameless doors, you must account for the space required for the hinges and the latch mechanism. These components require a flat, stable surface on the tile or curb to mount securely. If the tile is not flush in the hinge area, the door may not close properly or may put undue stress on the mounting points. Mark these zones on the floor plan before tiling begins so the contractor can ensure the substrate is level and the tile joints are aligned to support the hardware weight.
Sequencing for a Smooth Install
To avoid delays, follow this sequencing checklist with your project team:
- Verify Waterproofing: Confirm that the pan and walls have passed the flood test before ordering glass.
- Confirm Final Dimensions: Measure the finished tile face to face, including the thickness of the tile and grout, to ensure the glass fits without forcing.
- Check Curb Slope: Ensure the curb or tile surface slopes slightly toward the drain to manage water flow.
- Mark Hardware Areas: Identify where hinges and latches will mount and verify the surface is flat and structurally sound.
- Protect Finished Tile: Once the tile is grouted and sealed, protect the surface from construction debris before the glass arrives.
Frequently Asked Questions
Who should measure the glass, the tile contractor or the glass company?
The glass company should perform the final measurement after the tile is fully installed and grouted. The tile contractor should provide the rough dimensions, but the glass installer must verify the finished opening to ensure a precise fit.
Can I install the glass before the tile is fully cured?
It is generally not recommended. The tile and grout need to be fully cured to ensure that any minor settling does not shift the glass or break the seal. Follow the manufacturer’s cure times for both the thinset and the grout.
What if the tile is not perfectly straight?
Minor variations are common, but significant unevenness can prevent the glass from sitting flush. If the tile is out of square, the glass installer may need to adjust the design or use a different mounting method. It is best to address this during the tiling phase rather than after the glass is ordered.
Getting the sequence right ensures that your glass enclosure performs as intended for years to come. If you are planning a renovation in Ontario and want to ensure your tile and curb work is ready for a custom glass installation, request a Estimate to discuss your specific project requirements with our team.